We have been asked how panoramas are created so why not walk you through the process with the goal to provide better education of what really makes a quality virtual tour. Assuming the virtual tour is schedule, we will then travel to your place of business and capture all the 360 content that’s required. Based on the size of business the number of panoramas will change. Ideally we are capturing a 360 panorama with no more than 25 feet in distance to create a walk though experience. Most virtual shoots will take around one hour to capture all image, resulting in thousands of images when finished. For example: One panorama is actually 30 images stitched together. Now its time to take a step further into our process and see the what makes a 360.
Capture Content
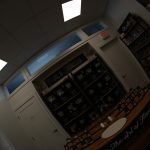
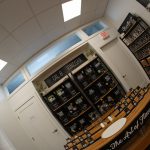
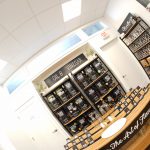
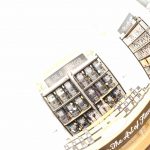
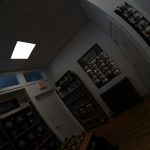
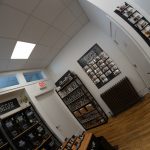
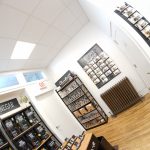
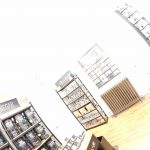
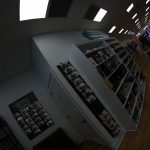
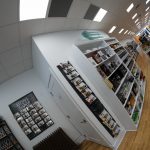
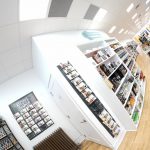
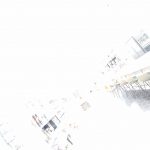
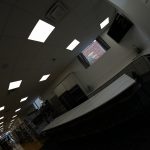
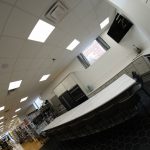
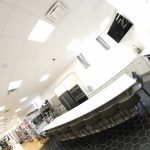
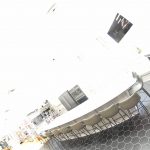
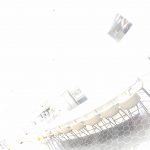
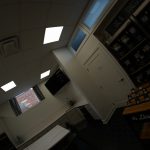
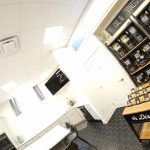
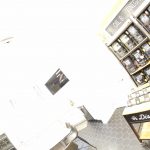
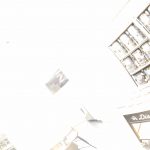
When shooting panoramas with a DSLR and a wide angle lens the number of images required will change based on the setup. For my setup I shoot every 60° which means it takes 6 angled shots to shoot a full 360° image. There is one more step though, instead of shooting one image per angle why not shoot the angle in High Dynamic Range (HDR)? The main benefit of HDR process is the minimization of blown out highlights or crush shadows. For each angle I use a 1 stop variation. Therefor my camera will shot a -2,-1,0,+1, +2 exposure set of images. Then a rotation of 60° and another bracket set of images takes place. Lets take a look below.
You can click on eac image for better quality. Flipping through the images you will see now camera shift due to using 2 second delayed timer for a hands off approach during AEB (Auto Exposure Bracket) set.
To touch on the reason for so many images lets look at Angle 5.. When looking at the -2 Exposure you can see outside but you can not see under the counter top. This serves as a good example of why we need the -2 exposure. If just one image was used, such as Angle 5 (0 Exposure) then you would not be able to see outside with the final panorama. On the opposite side of the scale is the +2 images. Most of the time during our process the image data is not used but in our example if you look at Angle 1 (+2 Exposure) behind the olive oil barrels the grain in the wood is used versus being too dark when looking at the Angle 1 (0 Exposure) image. Having one image does not have the dynamic range needed and this is why many photographers choose HDR in some of their processes.
Post Production
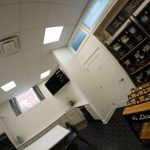
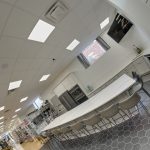
Ok the photoshoot is done and we captured all the images needed for a virtual tour. If a location needed 10 panoramas then 300 images should of been shot (30 per panorama x 10 panorams). The next step of our process is running images through our HDR process. So with each bracket of images, our software will run an algorithm and grade each pixel resulting in using the best pixel (based on color, contrast and alpha channel). For example in Angle 5 (-2 Exposure) the window will be used during the pixel grading process since there is more color/data for that area of the image.
When looking at the FINAL HDR IMAGE it will have a nice even dynamic range. So far the images have not been altered (color corrected or Photoshopped). This happens later on in the process.
Stitching
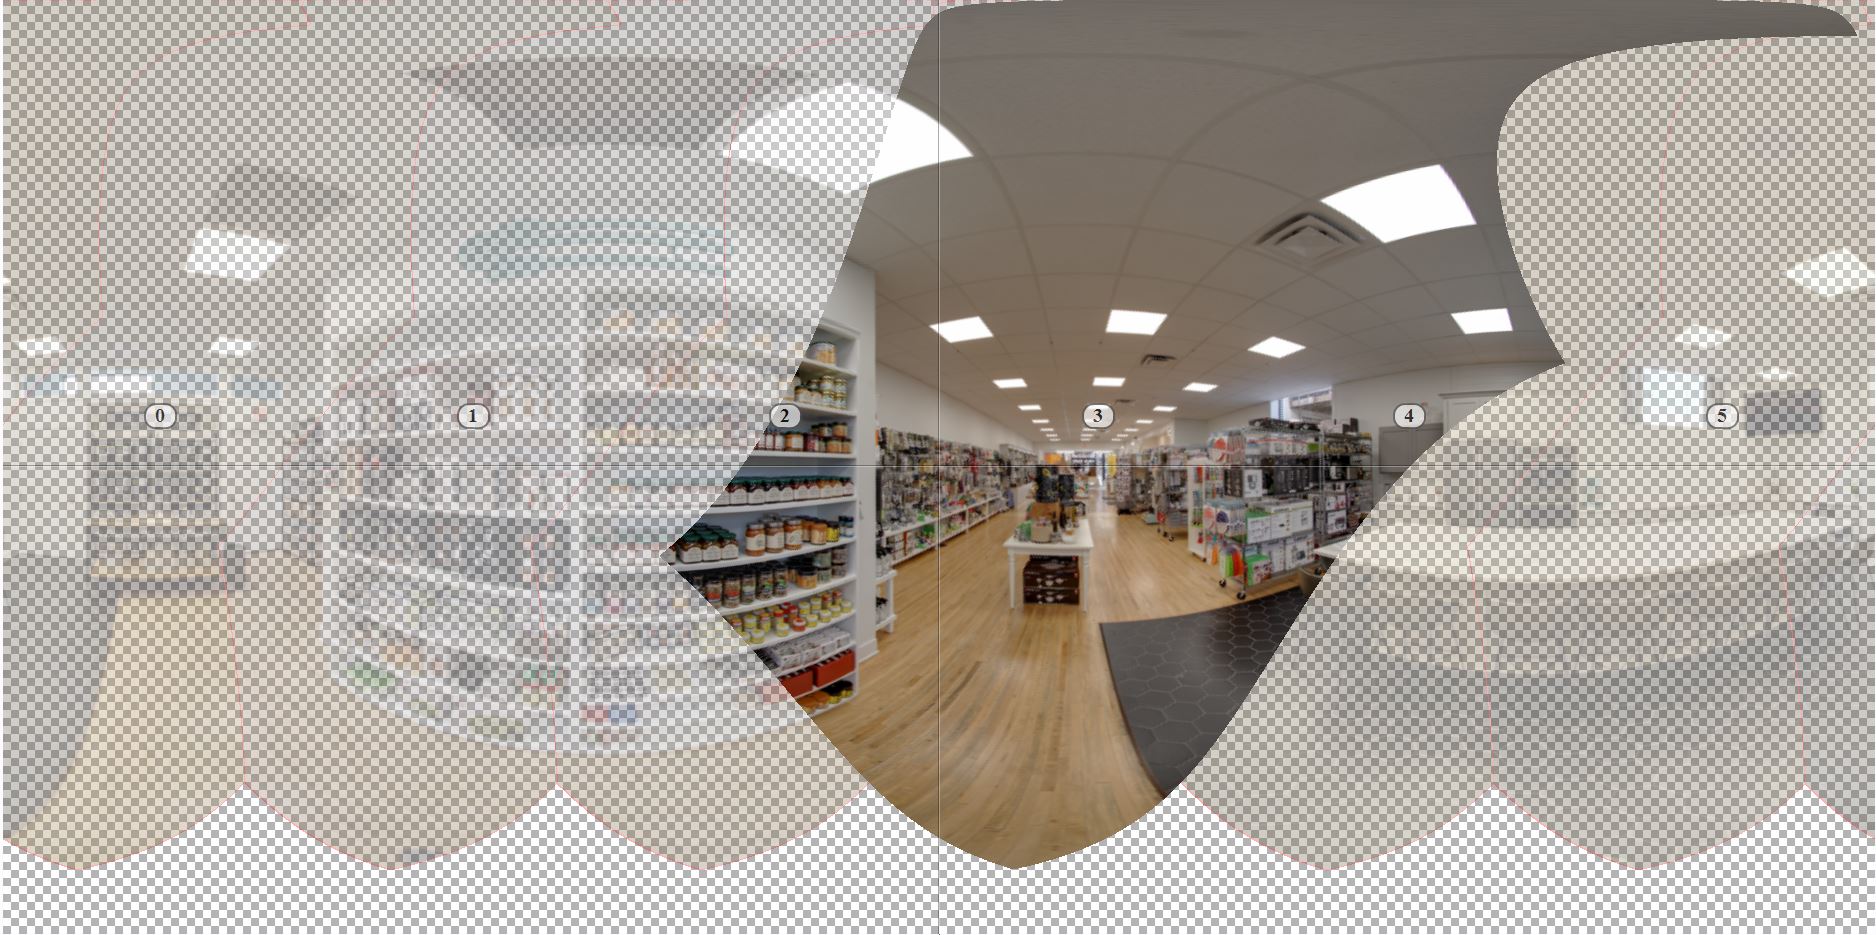
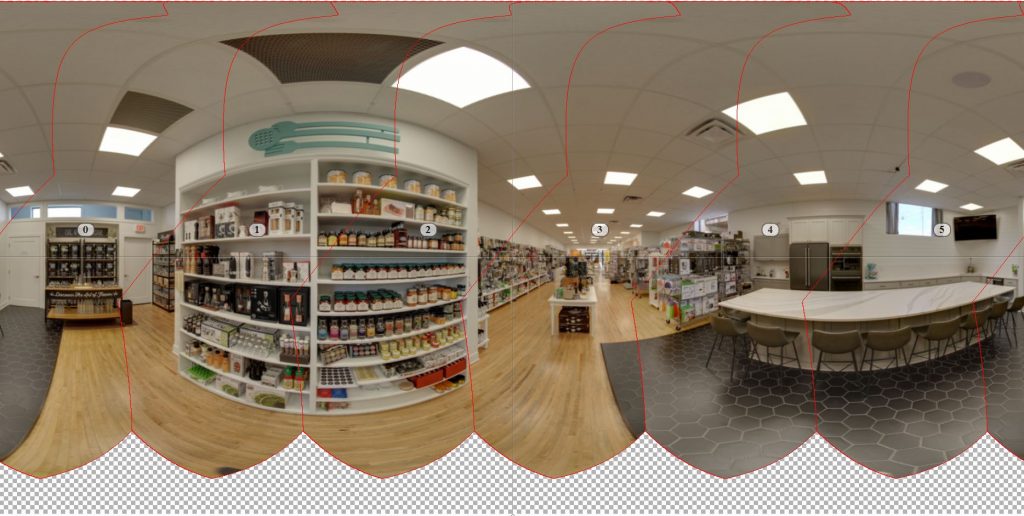
After all images are run through our HDR process and reviewed the next step is to roll up the sleeves and stitch the images. Kinda like stitching a quilt our software will stitch properly shot images into panoramas.
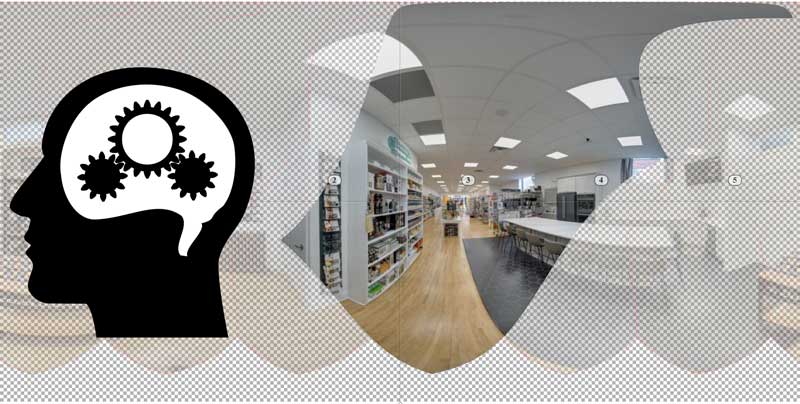
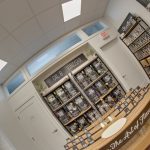
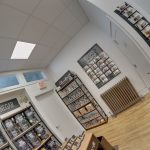
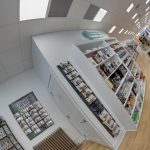
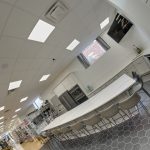
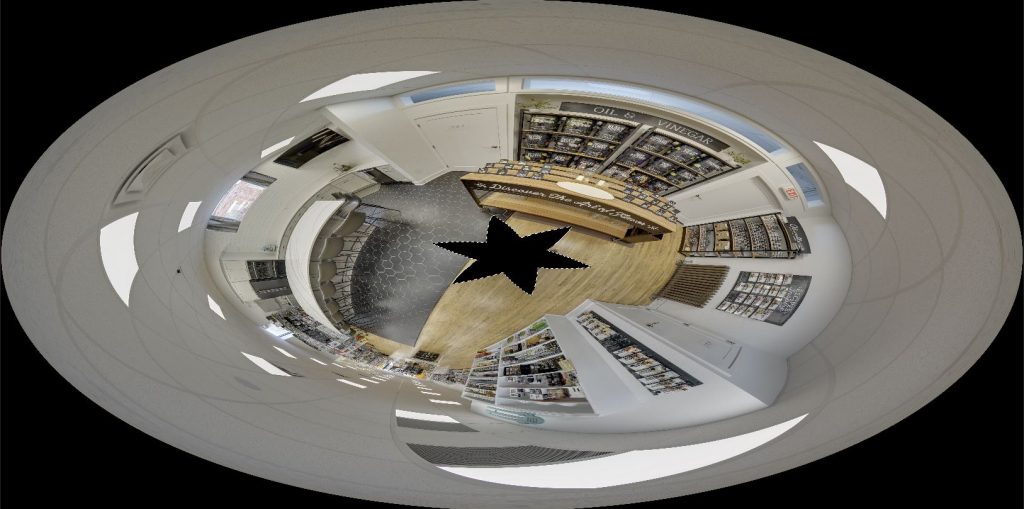
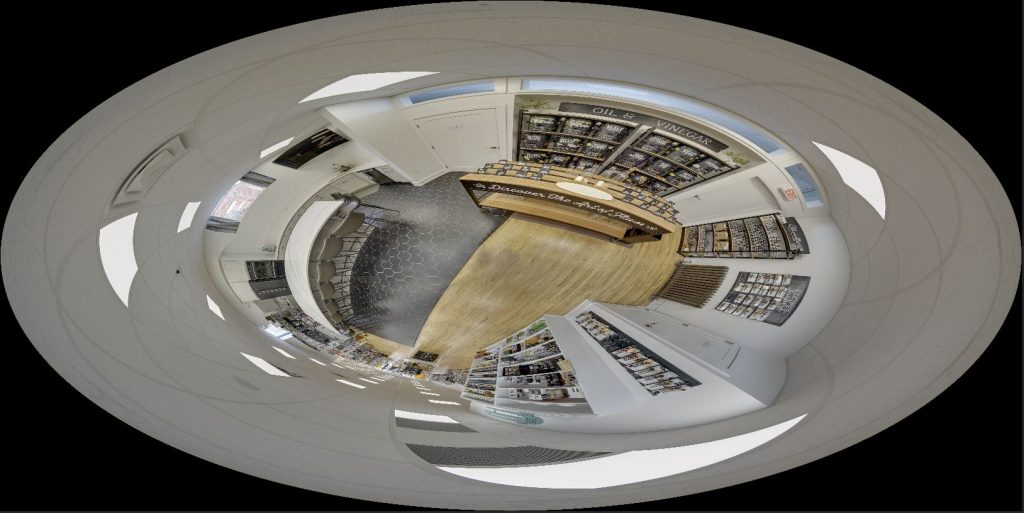
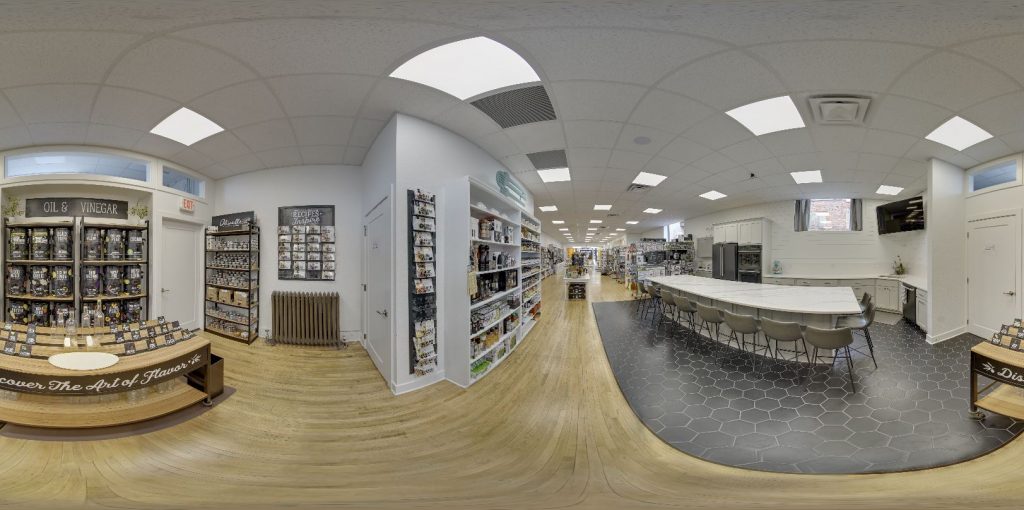
Now you will see all images stitched together into one panorama. The next step is to Photoshop the bottom portion of the panorama where the tripod was with the goal to match floor content.
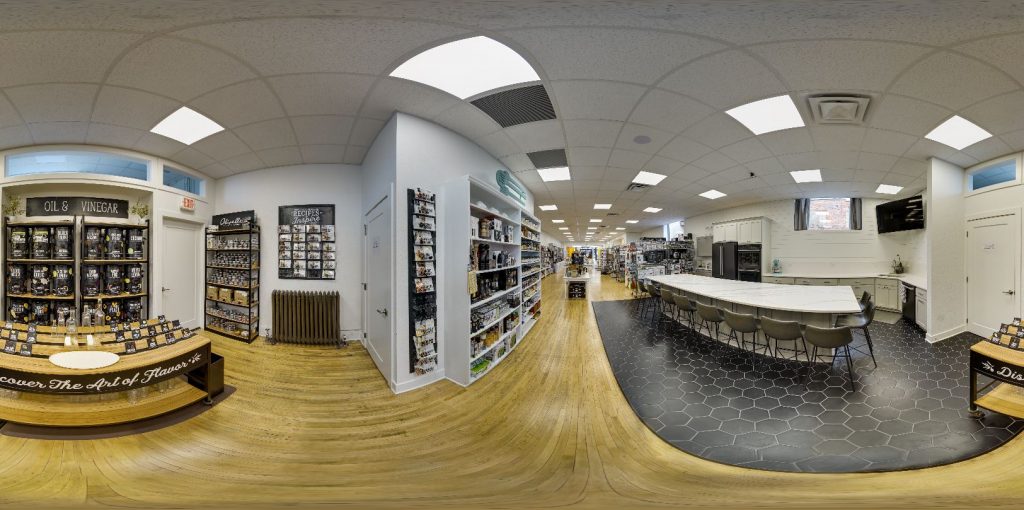
The next step is to repeat this process with all panoramas shot for a location and color correct all panoramas to the same levels to help create a virtual walk through experience. After color correction takes place we will then ingest the virtual tour to Google Maps including linking all panoramas to each other accordingly. Additionally, once a virtual tour is published through Google we can then start customization including hotpots and menu navigation.






bepblam